4 Best Practices for Incorporating Solar into Commercial New Construction Projects
Strong commercial construction activity continues in Southern California, and the recent LA fires mean that a major rebuilding effort lies ahead for apartments, retail, office and industrial buildings. The best way to incorporate solar into those new construction projects is top of mind for many, whether they’re looking to save on energy costs or meet energy efficiency requirements like Title 24.
At Xero Solar, we know there’s a lot to consider when doing solar and battery systems for new buildings. To help you avoid common issues, we’ve outlined four best practices with actionable tips.
- Integrate solar design and installation into the building’s plans
- Set aside enough – and the right – space for solar equipment
- Allocate enough time for solar installation
- Anticipate changes due to the length of time between design and installation
Integrate Solar Design & Installation into the Building’s Plans
Even though solar is often designed under a separate plan-set and a separate permit, there are elements of the solar design and installation that must be accounted for in the building’s design plans and its construction. In particular, you need to ensure compatibility when it comes to the rooftop solar attachments, the main electrical panel, and the conduit pathways.
Rooftop attachments
It’s important to pick proper attachments that match the roof design in two key ways:
- Structural compatibility
- Weather-sealing compatibility
Structurally, the roof attachment must be made to screw into or hold onto whatever type of structural material lay below it. Standard wood rafters, concrete roof slaps, and metal beams all require different pins and screws. Also consider whether there’s thick insulation between where the attachment can sit and the structural material below it to ensure screws can reach through and securely connect with the roof.
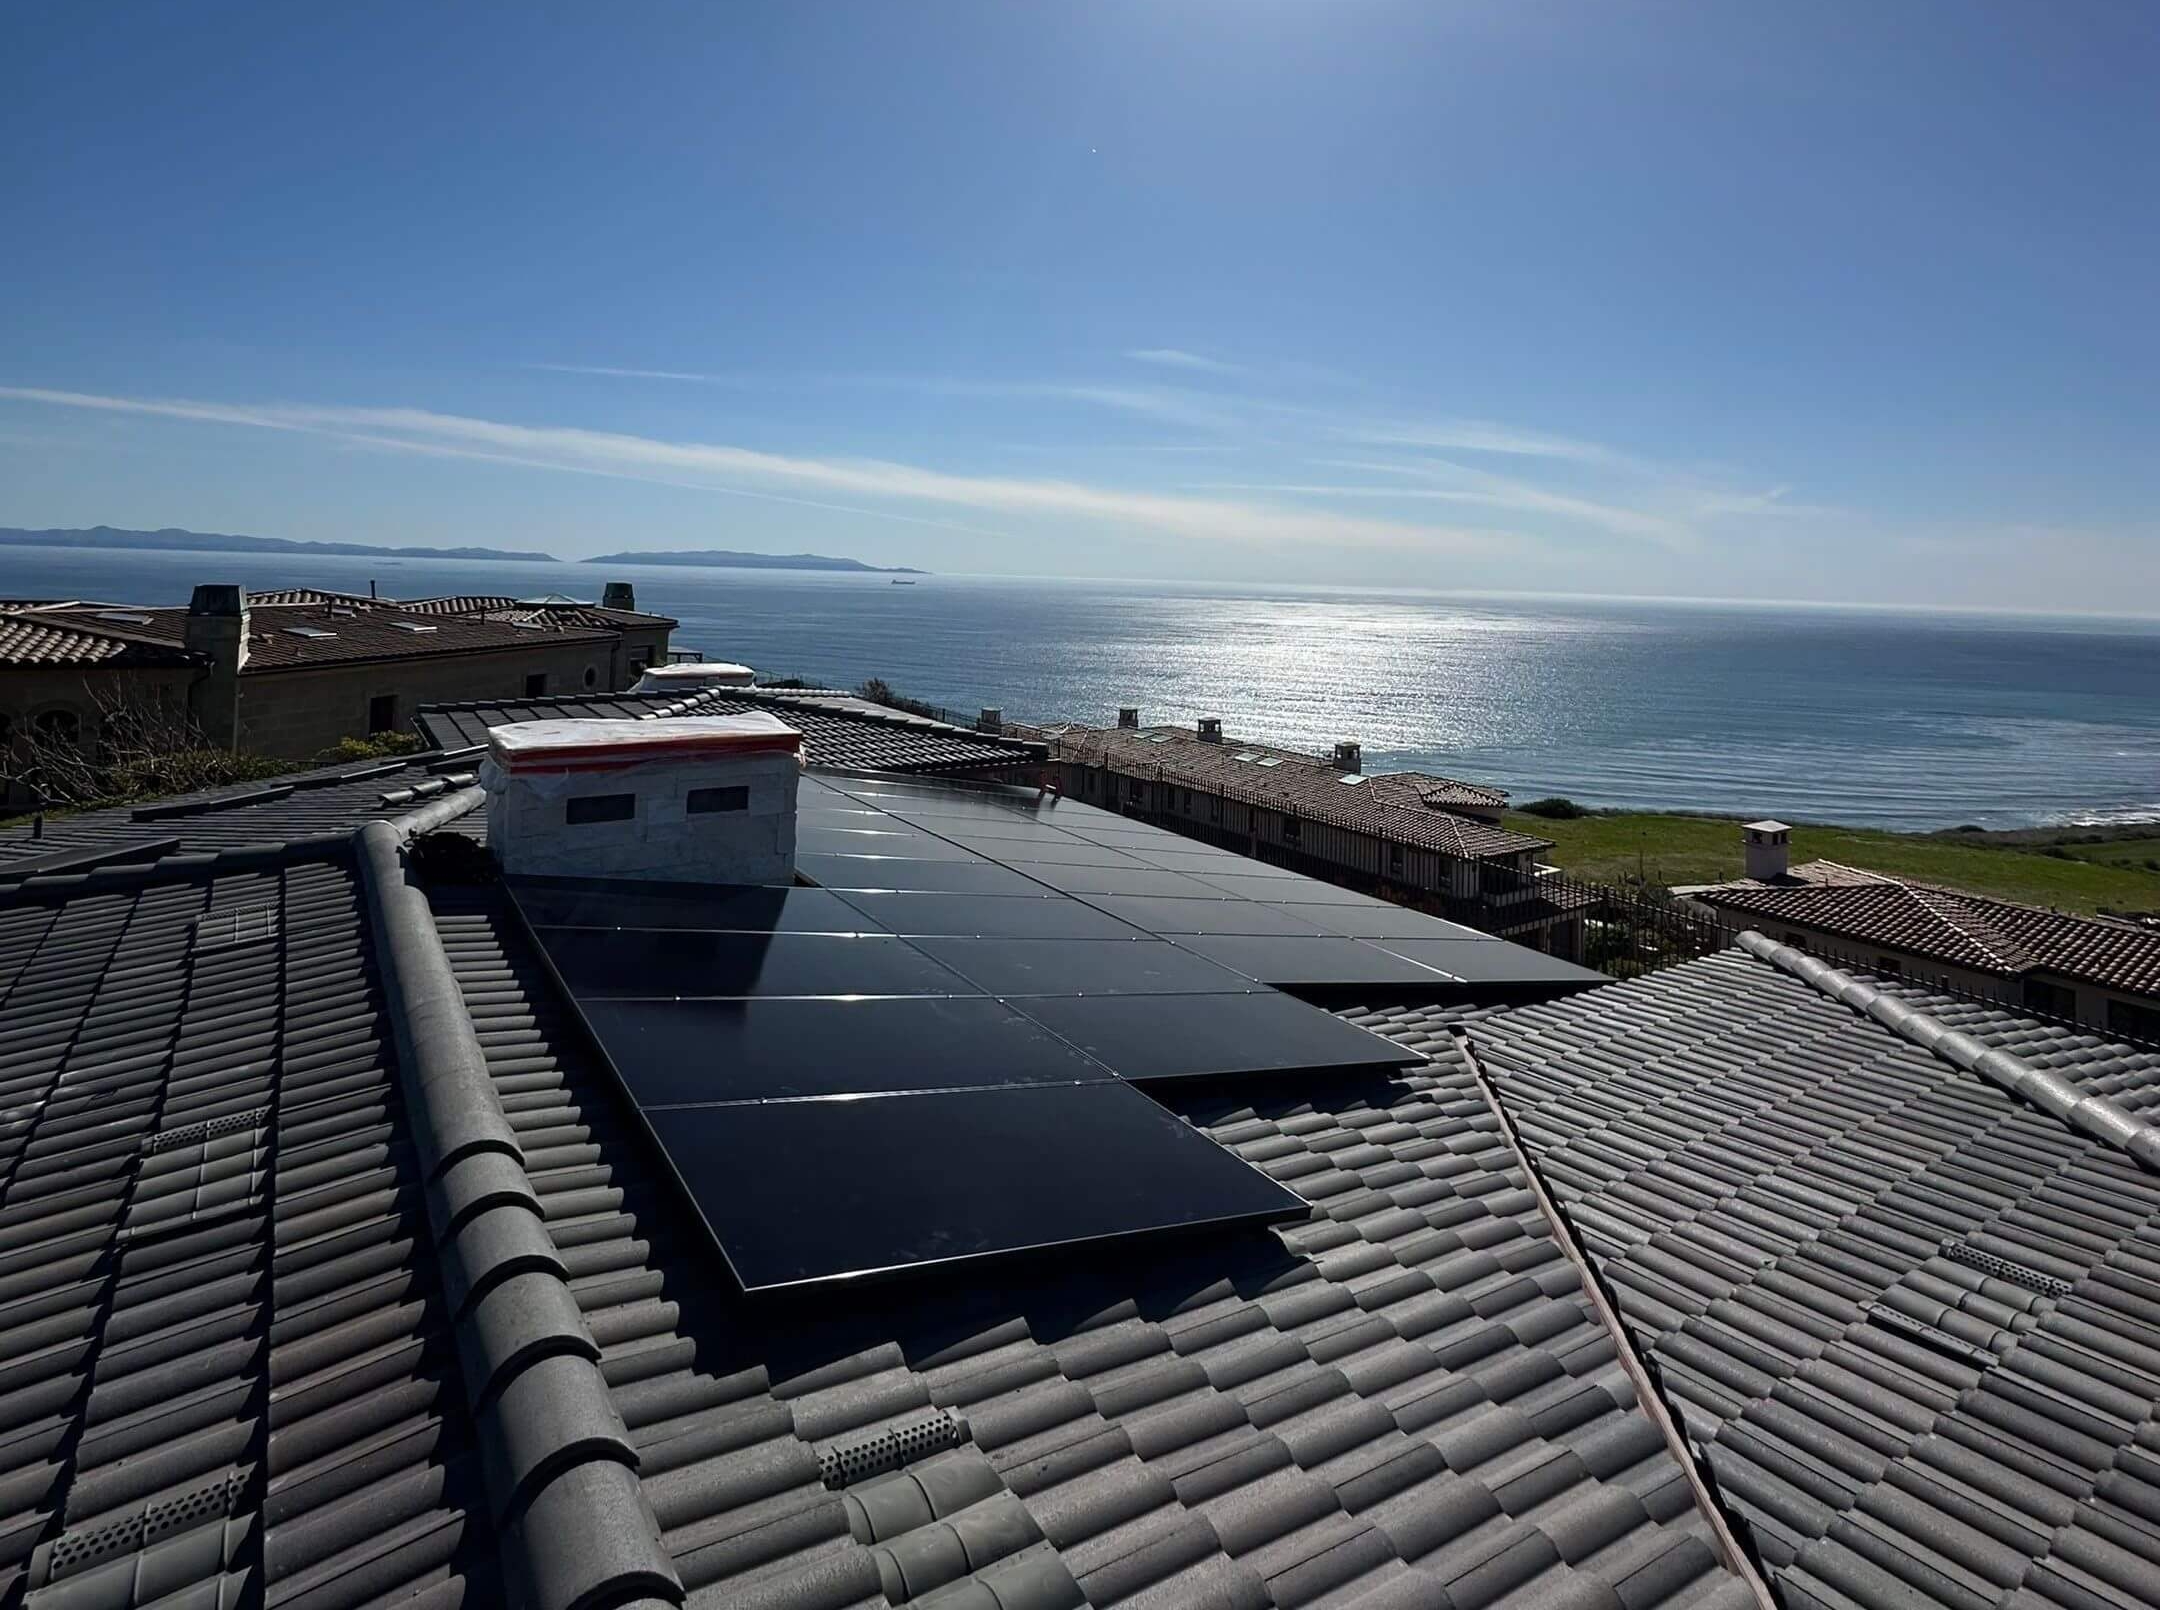
At the same time you’re considering which attachment options are compatible with the roof structure, it is important to anticipate how the attachments will be weather sealed. Xero can work with your roofing subcontractor and project stakeholders to establish the best attachment method for the roof structure and solar design. In some cases, it is recommended that attachments be fastened directly to the roof structure prior to the roof build-up. In these cases the solar attachments get sealed in when the final roof weather sealing layer gets installed. Alternatively, solar attachments can be installed after the roof is completed and weather-sealed. In those cases, you would need an appropriate solar attachment that can easily be weather-sealed to the existing roof. It is prudent to establish the best attachment method for your solar project well in advance of installing a new roof, in order to schedule attachment installation accordingly.
Main Switchboard
The main electrical panel, where the utility meter feeds power into the building, must have sufficient amperage capacity to accommodate solar. The 120% rule is the most common and simplest way to ensure that your electrical panel is big enough, per code (NEC/ CEC 705.12(B).3.2).
The 120% rule says that the combined power coming from solar and from the grid cannot exceed 120% of what the panel says it is rated for. This rule acknowledges that the metal bussing inside electrical panels can actually handle more power than the rating indicates – 20% more. If you have 80A coming from solar, and 400A coming from the utility grid, then the main panel bussing actually only needs to be rated for 400A: 120% of a 400A panel is 480A, which is enough actual capacity for 80A of solar and 400A from the grid, thanks to the 120% rule.
One critical requirement for the 120% rule is the configuration: solar must be connected to the panel at the opposite end from where the utility power is feeding into the panel. The reason for this is to spread out the power coming from those two sources. While electrical panels can handle 20% more power than their rating indicates, they can’t handle all that power if it’s concentrated on a small section of the metal bussing. That metal will melt and cause a fire, if the power is concentrated. Connecting the solar and utility at opposite ends of the bussing ensures that the power is as spread out as possible.
Make sure to reserve the breaker spot at the far end of the bus bar – typically the bottom breaker spot – for the solar backfeed breaker. A simple way to ensure that space is reserved for solar is to order that solar backfeed breaker as part of the electrical panel itself. This is a good idea anyway because then you know the breaker is compatible with that type of electrical panel.
Wire conduits
Solar requires two conduit pathways. One is for the solar power, while the other is for a low-voltage internet connection.
The solar power conduit – typically 1”-2”, depending on the size of the PV system – usually leads from the roof down to the main electrical room. You’d rather not run conduit down the exterior face of a brand-new building, so it’s best to find a pathway through the interior of the building.
The low-voltage conduit – typically 3/4” – usually runs parallel to the solar power conduit, especially if the internet modem is located in the main electrical room. Ultimately, the low-voltage conduit must run to wherever you’re going to hard-line the internet connection. Hard-lines are far preferred over wifi connections. A majority of Xero Solar’s maintenance requests are caused simply by a weak wifi signal interfering with the system reporting good performance data. Avoid that by hard-lining your solar inverters to the internet.
Set Aside Enough – and the Right – Space for Solar Equipment
Many contractors are not accustomed to making room for solar equipment, and they don’t allocate enough space in the appropriate locations. This can cause headaches for the solar contractor who must redesign and repermit their engineered plans because an electrician spaced out their subpanels, leaving no room for solar. This can even cause headaches for the electricians or other trades who have to come back to the site to undo and redo their work, if there’s no way for solar to work around the new constraints.
The two key areas where space must be allocated are the roof (of course!) and also the main electrical room.
Roof
Even if you have a large, open roof, you may not be able to fit as much solar as you’d like—or even as much as required—if you’re not careful. This is primarily because of the numerous building codes which require different clearances, setbacks and pathways, around and through solar arrays.
For instance, there must be a clear 4’ wide walkway around the perimeter of the roof. If there isn’t a 3.5’ tall parapet or other form of edge-protection, that perimeter walkway may need to increase to 6’.
Beyond those roof space requirements, you have to watch out for clearance needed for mechanical equipment, roof drains, hot-vents, and other things like window-cleaning equipment. Window-cleaning equipment can be especially space intensive, if they use davit anchors, which have a swing radius of up to 8’, all the way around. That seriously encroaches on the space available to solar.
There is also equipment that doesn’t need to show up on building plans. For example, often HVAC ducts and domestic plumbing vents aren’t shown on construction plans, even though they’re on the roof. We’ve run into this issue when a plumber ran a roof full of vents, unaware that it was supposed to be a roof full of solar. This dramatically impacted the engineered solar plans, resulting in a change order, and even risking the viability of the overall building project that required a certain amount of solar to satisfy Title-24.
All of that is to say, what may seem like a generous amount of space allocated for solar may not be as much as you’d think. Since solar gets installed last, it’s solar that’s impacted when other trades’ designs aren’t coordinated with the rest of the building designs to ensure there’s enough space reserved.
Electrical Room
Most trades aren’t accustomed to coordinating their equipment locations with solar equipment locations. But even if they’re aware that there’ll be solar panels on the roof, they may not think to accommodate space for solar equipment including a safety disconnect switch and solar inverter in the other critical location: the electrical room.
Every solar system must have a safety disconnect switch located within line-of-site of the utility meter and within 10’ of it. That way, if a firefighter comes to turn off electricity in the event of an electrical fire, they’ll see that they need to turn off the solar as well. These disconnect switches range in size from 1.5’ x 1.5’ to 2.5’ x 4’ tall, depending upon the amperage. This also depends upon the jurisdiction. LA City, for example, requires larger, windowed disconnects, in certain situations.
In some cases, the best place for the solar inverter is not on the roof, but in the electrical room. The solar inverter is the weak point in any PV system: the most likely point-of-failure, and the equipment with the shortest warranty period. They’re usually rated for outdoor use, but it’s still best to put them indoors and out of the elements in order to prolong their functional life.
The solar equipment in the electrical room needs a 3’ working clearance in front of them, just like the other electrical equipment in that room. If the electrical room is an alcove in a parking lot, there’ll likely need to be some form of vehicle protection such as concrete bollard posts.
Batteries have their own set of required clearances. The clearance size depends upon the product’s UL 9540A fire test results and the jurisdiction’s interpretation of those test results. Some jurisdictions may require only 2’ of clearance all the way around and others may need 3-4’ of clearance.
Some jurisdictions will allow all the battery storage units to be stacked in a single location (tower), while others limit the amount to 50 kWh. In those cases, you’ll need to spread the battery storage units between multiple storage towers, which must be spaced out by that same clearance distance. This can result in the battery equipment taking up a lot of space. As a general rule, it’s much easier to satisfy battery codes if the battery is located outside, rather than indoors.
Allocate Enough Time for Solar Installation
It’s best to coordinate the design and installation of the solar roof attachments with the design and installation of the roof weather-sealing method. This requires that the solar attachment installation be scheduled into the construction calendar. Usually, it must occur right after the roof decking is installed, but right before the insulation and weather-sealing layer are installed. The roof also often has a curing period to let adhesives, membranes and slurries set properly. Ensure that there is time allocated on the schedule for this curing before and/or after the solar attachments.
Anticipate Changes due to the Length of Time Between Design and Installation
Lastly, new construction projects take a long time in general. From the time the design engineers complete their SD, DD and CD stages to the time that the building is finished could be many months, or even a couple years. This is especially true for solar, which is typically the last thing that gets installed on a building.
During this multi-month period between design and installation, a lot changes – and it’s not just the building designs. The solar and battery code requirements are constantly evolving, and so are the interpretation of those requirements. The specific products available during the design phase are often different than what’s available when it comes time to procure materials for installation.
One piece of advice – albeit somewhat self-serving for Xero Solar – is that you work with solar companies who have good relationships with their suppliers, and have long-term visibility into what products will become available by the time you’re ready to place an order.
Solar panels in particular are constantly changing in availability. Solar panel manufacturers offer a product-line of modules with a range of different wattage ratings. When manufacturing first begins, the assembly line is only efficient enough to produce panels with the lower wattage. As the manufacturer works out the kinks in the assembly line, they start producing panels with higher wattages, and they stop offering the lower wattages. Manufacturers try to broadcast when they anticipate graduating from one wattage to the next, which means the company designing your PV system needs to have clear visibility into those timelines.
Even then, one truth remains: there may still be unforeseen factors that cause a redesign and repermit. That’s the nature of the beast. Don’t operate as if everything will go flawlessly, without any changes needing to be made. It’s not possible. Even the jurisdictions and utility companies aren’t consistent, from company to company, or even from plan-checker to plan-checker.
Long story short, there is a lot to consider when doing solar and battery systems on new buildings. Hopefully this article has provided some useful points on what to look out for, so that you can side-step the more common issues. If there’s anything Xero Solar can do to help you in the process—whether you’re going solar because of the favorable economics, or simply because Title-24 is requiring you to—please don’t hesitate to reach out to us at any time (310-376-8740; info@xerosolar.com).